

Stoplight Project
This is my Stoplight Project. The goal is to indicate which part of the schedule we're currently in. It would do this by displaying green when it is time to work ("go time"), yellow 5 minutes before the period ends (warning), and red during the passing periods and lunch (when work has stopped). My first step for this project was developing code to control each individual light for the regular school schedule (not early release, advisory activities, extended advisories yet). For this I used a metro mini and colored LED's to achieve this.

This version is rudimentary and cannot handle high voltages in order to power the big lights on the stoplight. In order to do this I had to control the lights using a relay which can handle large amounts of electricity.

I am using a 4-module relay and this would connect to the micro controller and mount onto the blue acrylic holder. This holder was laser cut by me with specific mounting holes to screw it into the stoplight. Here is a picture of the breadboard version connected to the relay

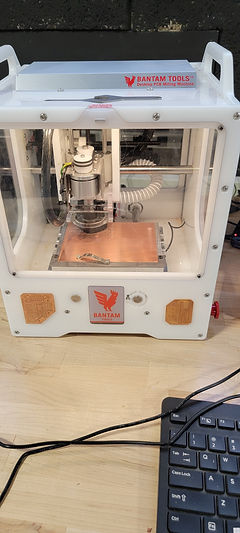
Breadboards are only meant for prototyping and are not good for long term use so I made my own PCB in Fusion360 and cut it out using a PCB milling machine.


I went through multiple versions of PCB's until I got a working version with all the correct features functioning such as a battery coin cell holder and headers for the switches to control which schedule I would be using. Here's a picture of what the schematic and layout of the most current version that I'm using looks like in Fusion360.


Once I got all the components soldered onto the board it was time to mount the holder into the stoplight and connect everything together.


Once I got all the components soldered onto the board it was time to mount the holder into the stoplight and connect everything together. The final step was to have the stoplight be visible to the whole classroom for it to be useful to everyone. This was accomplished by using a TV stand and 3d printing an attachment to hold the stoplight.


By this time I had included the other schedules of the school, such as early release, extended advisory, and advisory activity, into my code and added a way to switch between those schedules. The little hole in the bottom of the stoplight gave me a good spot to put the switches so I 3d modeled and printed a holder for the switches. I then labeled which combination of the switches right next to the holder on the left.